How to Easily Remove and Reinstall LED Light Strips
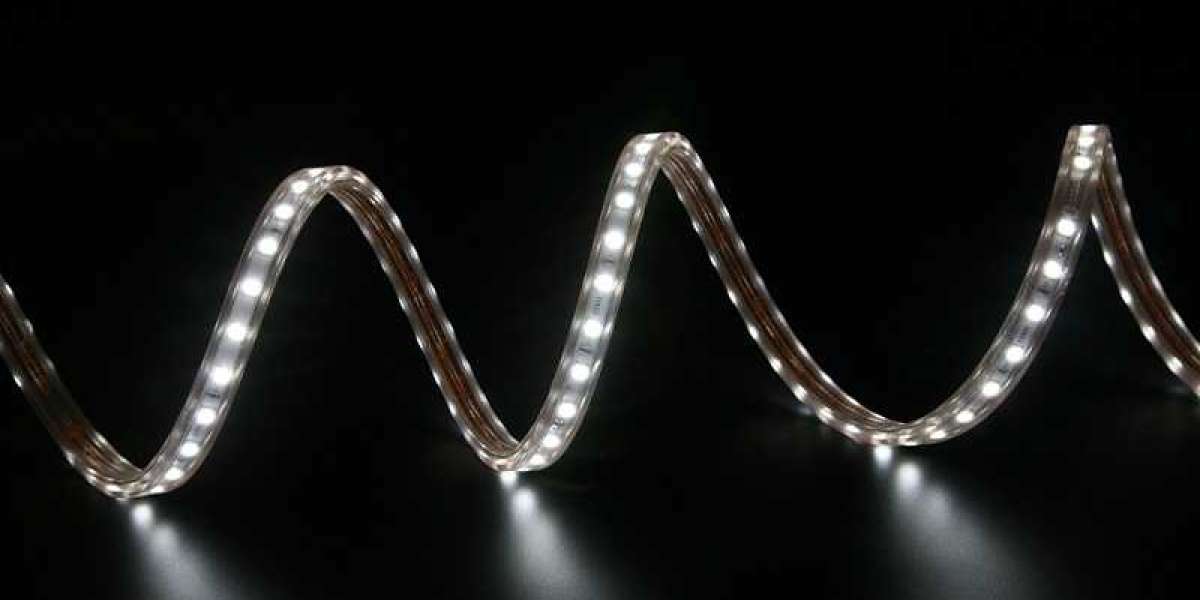
LED light strips are a fantastic addition to any home, providing both beautiful decorations and functional lighting. Whether you want to enhance your audio setup or illuminate your outdoor space, LED light strips are versatile and easy to use. But what if you want to move them to a different location? In this article, we will guide you through the simple process of removing and resticking LED light strips in just four easy steps.
Reusing LED Light Strips
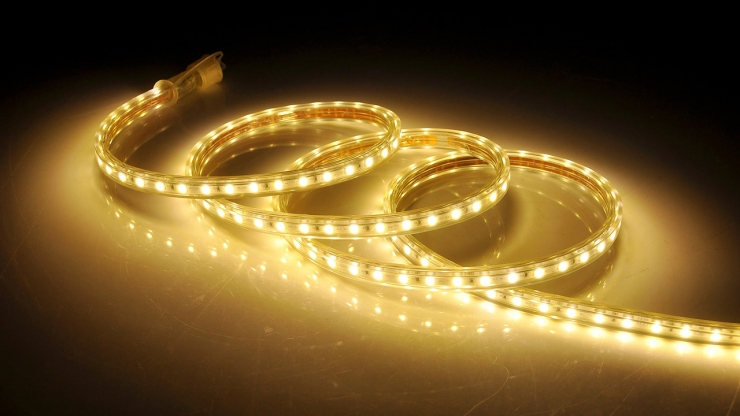
One of the great advantages of LED strip lights is that they can be easily moved and reused. Unlike fixed light fixtures, LED light strips can come along with you when you move to a new home or when you want to change their position within a room. So, how can you ensure that you can reuse your LED light strips effectively?
How to Remove LED Light Strips Without Damaging your Walls
Removing LED light strips without causing any damage to your walls requires a bit of patience and caution. The adhesive backing of the light strips is strong and can pull off paint if not removed carefully. Here’s a step-by-step guide on how to do it safely:
- Unplug the Light Strip and Heat the Adhesive: Before removing the LED light strip, make sure it is unplugged from the power source. To soften the adhesive backing, use a hairdryer on a low to medium heat setting. Move the hairdryer along the length of the strip, heating the adhesive evenly.
- Find an End and Corner: Start at one end of the strip and locate a corner that you can easily reach. Use a thin, flat object such as a coin, credit card, or butter knife to slide underneath the corner. Slowly work the object back and forth along the length of the strip, gently lifting and removing it.
- Remove the Sticky Residue: After removing the LED light strip, you may notice a sticky residue left on the wall. Don’t worry; this can be easily cleaned. Use your thumb to rub the residue in a circular motion, causing it to ball up and easily come off. For larger amounts of residue, use a soft sponge or rag with soap and water to clean it off.
- Reapply the Adhesive and Reuse: Once you’ve removed the LED light strip and cleaned the wall, it’s time to prepare for reuse. Purchase double-sided sticky backing such as Large Command Strips or Double Sided Mounting Tape. Apply the adhesive backing to the strip and stick it onto the new desired location.
--- Follow us to stay up-to-date with the latest information about LED lights
Other Pro Tips on Light Strip Moving Management
People have discovered various uses and tricks when it comes to installing and using LED light strips. RV owners suggest using silicone epoxy to hold the strips in place during humid weather conditions. Auto enthusiasts add light strips to their vehicles, but the installation process can be complicated, involving knowledge of “lighting circuits” and other complexities. Our recommendation is to keep it simple and manageable.
Common LED Light Strips
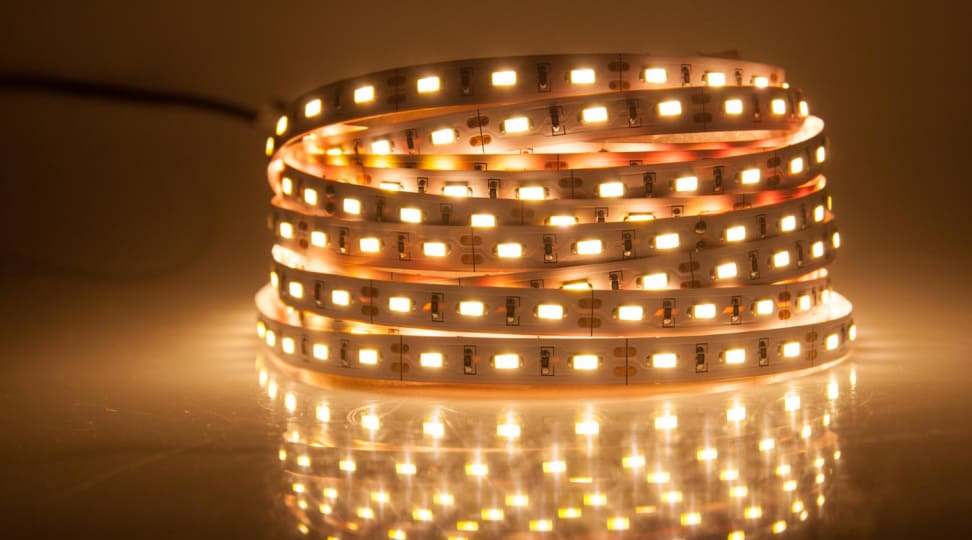
LED light strips come in a variety of models, each offering different features and benefits. Here are a few popular options:
- Minger LED Strip Lights: These lights are not your standard LED light strips, as they can change colors. With 16.4 feet of length, they are perfect for any room. They are easy to install and come with a remote for convenient control.
- Phopollo LED Light Strip: With over 65 feet of LED lights, this strip is perfect for making a statement in any room. It offers color-changing options and comes with an easy-to-use remote control.
--- Follow us to view more best LED light strips
The Final Word on Relocating Light Strips
Removing and reinstalling LED light strips doesn’t have to be a daunting task. With a little care and the right techniques, you can easily move your LED light strips without damaging your walls. Remember to heat the adhesive backing, peel the strip carefully, clean any residue, and reapply with new adhesive. Enjoy the flexibility and beauty that LED light strips bring to your space!